


Don't run away because there is nine steps.
I promise it is very easy.
One. Go to picmonkey.com and upload a photo or color of your choice background.

Two. Resize your image to 200x200. {Make sure keep proportions is unchecked.}


Three. Click on frames. Simple Edge. Push thickness on the outer color all the way to the left..

Four. Select the box next to the inner color and choose a color.

Five. Go to shapes. Geometric shapes. Select whatever shape you like - I used the first one. {You do not have to do this step. I just like doing it when I use a picture as a background.}

Six. Choose a color for your shape and place it on your button. Resize it as you need.

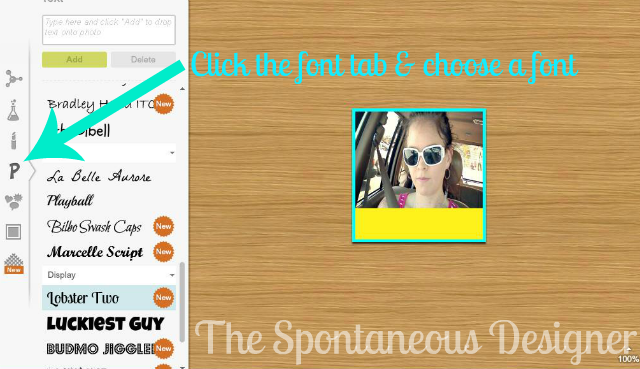
Seven. Click the font tab. Choose a font & a color.
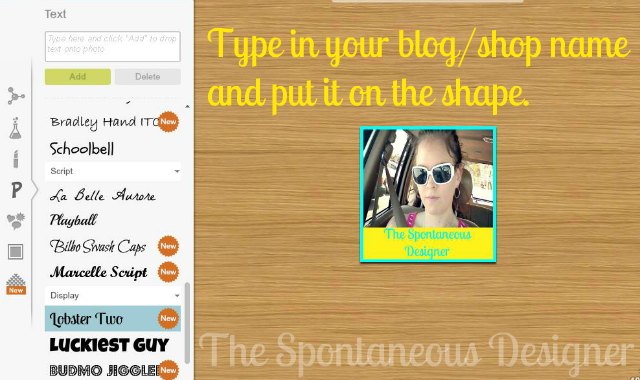
Eight. Type in the name you want on it and place it on your button. {if you are using a shape place it in the shape}
Nine. Go back to the top tab. Click resize. Resize it back to 200x200 {the border made it bigger} and save your button.

TA-DA!! Now you have a blog button!
See really isn't as bad as it seems.
The more you play around with it - the better at it you will get!

Thank you so much for your knowledge! I'm just starting out in the blog world, so this is very much appreciated!
ReplyDelete